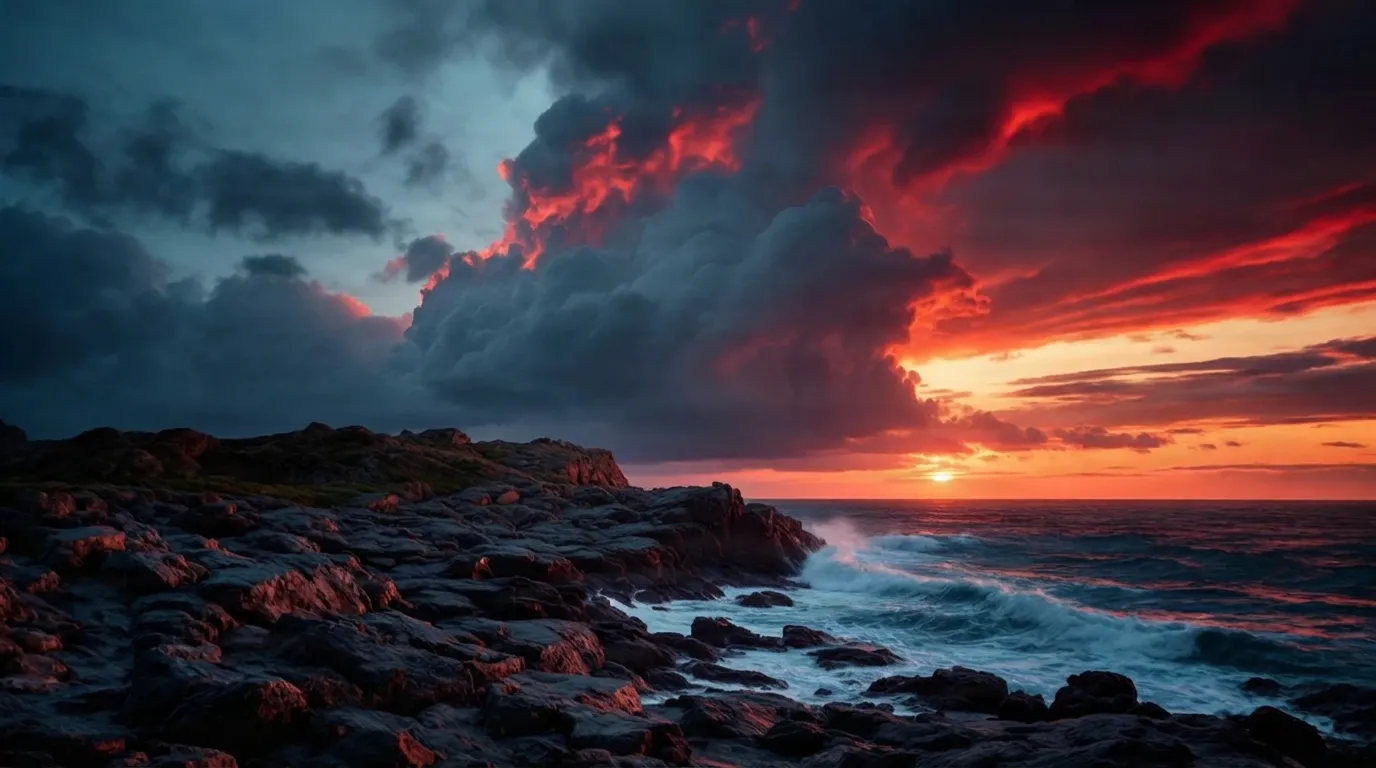
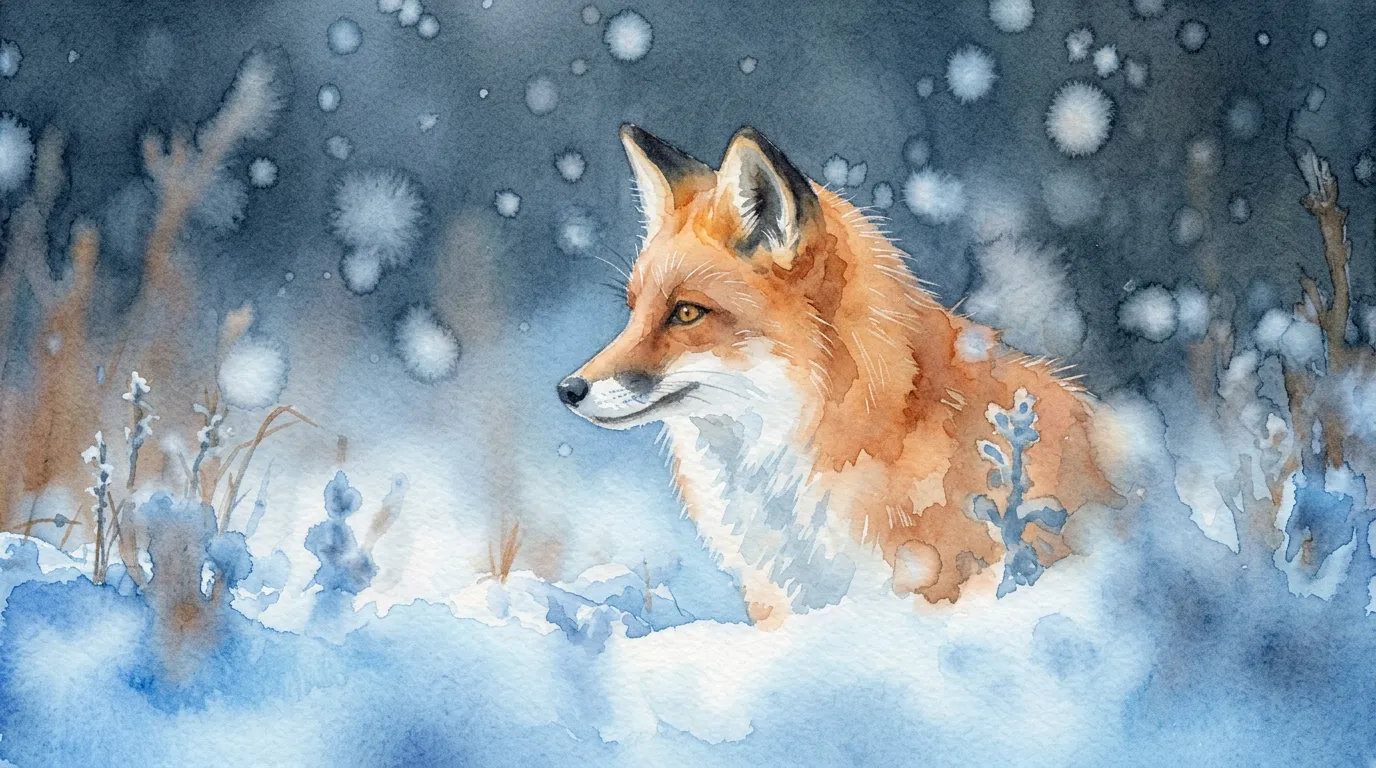
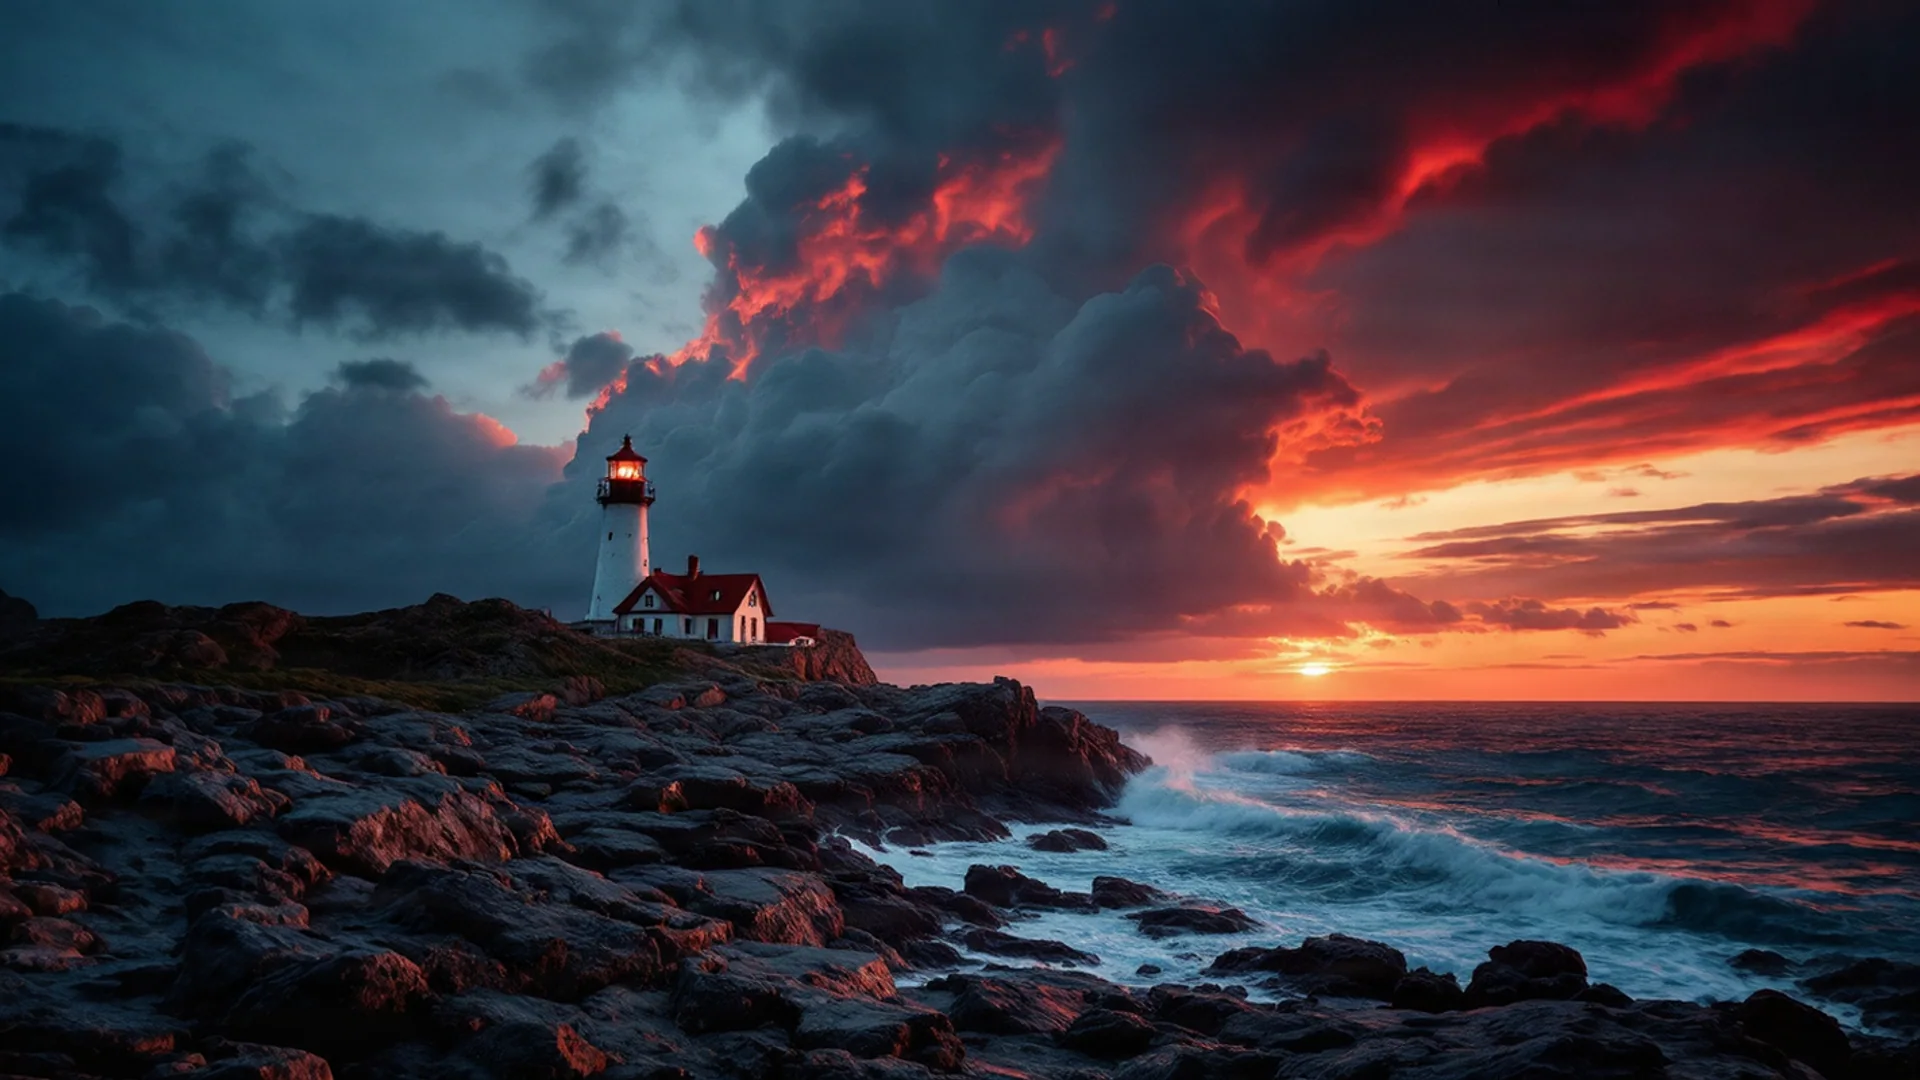
To remove an object or a person from a photo, take it out and fill the gap with what would have been behind it, so the scene looks as if it was never there. An AI object remover does this from a plain description such as “the man on the right”, and the healing or clone tool in a free photo editor does the same job by hand.
This guide covers what makes a removal look natural, how to do it step by step, other ways to get the same result, and a few things you should not remove at all.
What Makes a Removal Look Natural
- The fill matches its surroundings. Sky, sea, grass, sand and plain walls are easy to continue, because there is plenty of similar texture nearby to copy.
- Lines carry on. Kerbs, horizons, window frames, tiles and brickwork should run straight through the place where the object was.
- Shadows and reflections go too. A person removed from a beach can still leave a shadow on the sand, or a reflection in a shop window or a wet pavement.
- Nothing else changes. The rest of the picture should stay exactly as it was.
Size and position matter most. Small clutter in the background is easy to remove. A large object in front of the main subject is harder, because the gap hides part of the subject that was never photographed, so the tool has to invent it.


How to Remove Objects in the Studio
ideahits is a self-serve AI studio in the browser: you upload the photo and make the change yourself. These are the steps.
- Upload the photo to the Object remover.
- Say what to remove and where it is. There is no brushing or masking; you type it in plain words, for example “the bin on the left and the power lines”. Name each thing and where it is.
- Name the extras. If a person casts a shadow or appears in a reflection, add it: “the woman on the right and her shadow”.
- Choose a model. Nano Banana 2 is recommended because it changes only what you ask for. Nano Banana Pro is for difficult removals and fine detail, and P-Image Edit is the quickest for simple ones.
- Run it and check at full size. Look at the edges of the filled area, at straight lines and at repeating patterns such as tiles or railings. Everything you did not name is left as it was.
- Work in passes on a busy picture. Remove the largest thing first, then upload the result and remove the smaller clutter.
- Fix the shape if you need to. If the crop now feels tight, or you need a banner or a story from the picture, widen it with the Image extender.
The token cost is shown before every run, and if a run fails its tokens come back. Results are yours to use commercially. See pricing for monthly plans and one-off packs.
Make Room With the Image Extender
A removal often goes together with a change of shape. The lighthouse picture above started as a square photo and was widened with the Image extender before anything was removed.
- It makes a picture wider or taller and paints what lies beyond the edge, in nine aspect ratios from story to widescreen.
- The original pixels are kept, and only the new area is generated.
- Leave the description blank first to continue the scene naturally. If the new area needs something specific, describe only the surroundings, such as “more of the beach and sky”.
- Simple surroundings like sky, sea, walls and floors extend most convincingly.
The two tools also work as a pair: crop away an object that sits near the edge, then extend the picture back to the shape you need.
Other Ways to Remove Objects
- Crop. If the thing sits near the edge, cropping is free, instant and changes nothing else in the picture.
- Retake the photo. For a room, a product or a shopfront, moving the bin or waiting for people to pass costs nothing. On a busy street, a few shots from the same spot as people move through can be combined in an editor.
- A free editor. GIMP's heal and clone tools copy nearby texture over the object by hand. They are precise and free, but slow on large areas and fiddly on straight lines.
- Your phone. Many phone gallery apps now include an eraser tool that is handy for small things.
- A retoucher. For a wedding photo, an advertising campaign or a removal across a face or body, a professional is worth the cost.
Tips: What Not to Remove
- Permanent features in property or holiday photos. Removing a pylon, a building site or damage can mislead buyers and guests and may break advertising rules. A parked car or a passer-by is a different matter.
- Flaws on something you are selling. A scratch on a second-hand item should stay in the photo.
- Anything in news, evidence or documentary pictures. These should show what was there.
- Other people's watermarks. Removing a watermark does not give you the right to use someone else's picture. Only clean up images you own or have licensed.
Common Mistakes
- Forgetting the shadow or reflection, which leaves a ghost of the thing you removed.
- A vague description. “Remove the person” in a crowd is a guess. “The man in the red coat on the right” is not.
- Too much at once. In a cluttered picture, two or three passes are more reliable than one long list.
- Expecting a perfect fill behind the subject. If the object covers half the main subject, a retake or a crop may be the better answer.
Questions
How do I remove a person from a photo?
Upload it to the Object remover and name the person and where they are, such as “the man on the right”. Add their shadow if they cast one. Everything you did not name is left as it was.
Can I remove objects from a photo for free?
Yes, with the heal or clone tool in a free editor such as GIMP, or the eraser in many phone gallery apps. Cropping is free too, if the object sits near the edge.
Why does the filled area look wrong?
Large objects in front of the subject are hard to fill, because the tool has to invent what was hidden. Try Nano Banana Pro for difficult removals, remove less at once, or crop instead.
Can it remove signs and logos?
Yes. It removes people, cables, signs, logos and clutter. Only remove logos or watermarks from pictures you own or have the rights to use.